


Union Riveter Krissi has been writing tutorials for many a year, and we asked her if she would republish a few here for our readers at Modern Rosies. Of course she said "you bet!"
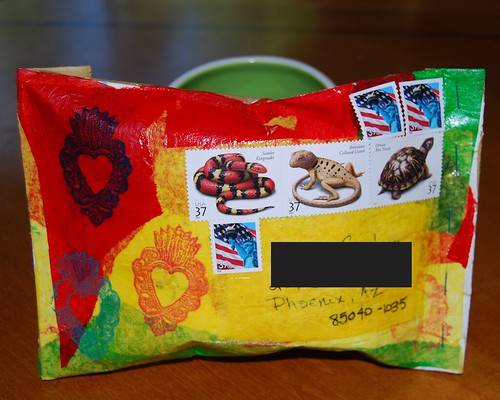
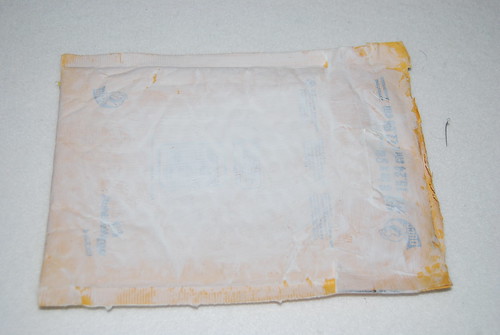
This photo has gotten a lot of hits over the years, and I and receive e-mails every now and then asking where I bought it. I didn't buy it - I actually made it out of leftover craft stuff, most of which was destined for the garbage bin.
 |
| When I was just starting my business, I used to do a lot of swaps withother artists. It's a great way to challenge yourself and try things withoutpressure. Swappers LOVE getting decorated envelopes, too! |
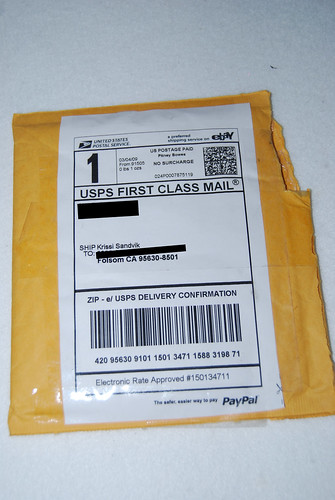 |
| Yes. That Folsom. Like the prison. |
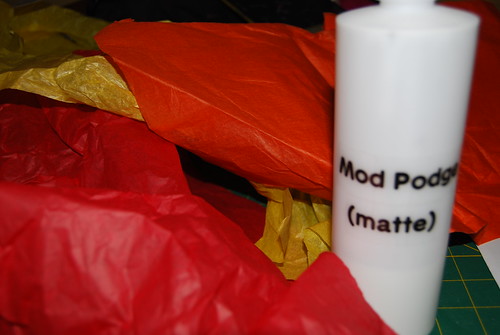 |
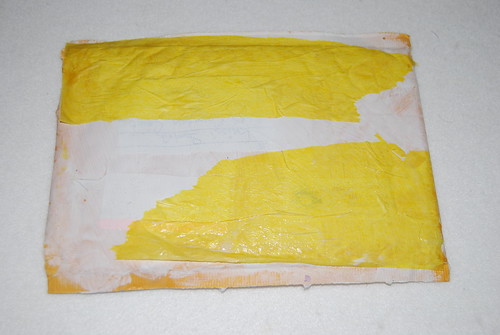
| If you don't have decoupage medium, you can use white glue, just dilute it a little first. |
 |
| stripping the labels and giving the envelope a coat of paint is optional,but it does give an even look to the piece, making the final look more finished. |
Keep going....
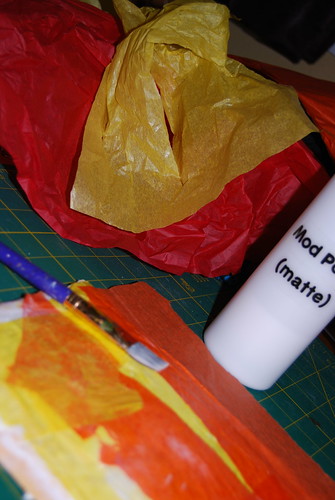
Keep going!
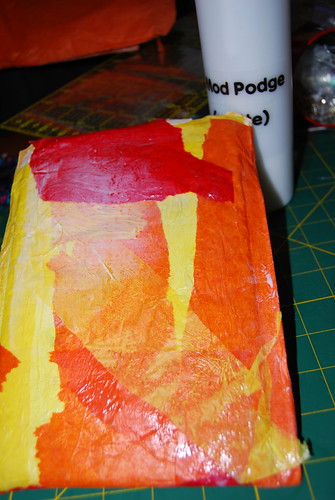
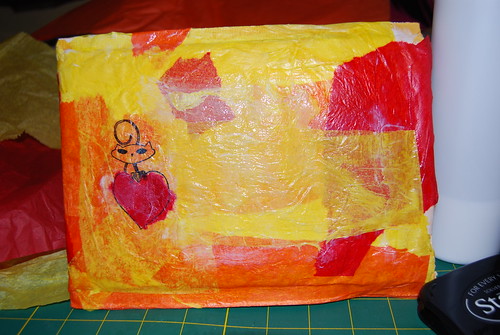
OK... That looks pretty good. Let it dry, then do the back side (optional, but totally cool looking and very much appreciated by your recipient).
You can work on the back while the front is still wet if you have a non-stick craft sheet, but I use the drying time as an excuse to play with my dog.
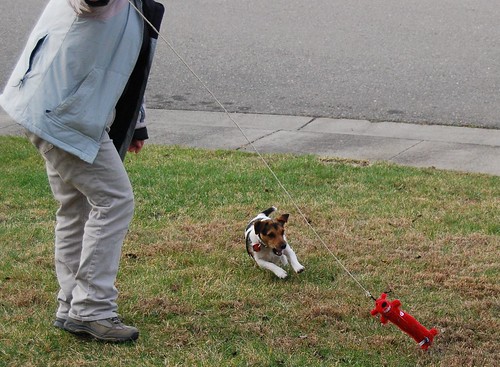 |
| Abby the Jack Russell Terrier - around this town, I'm just "Mrs. Abby." |
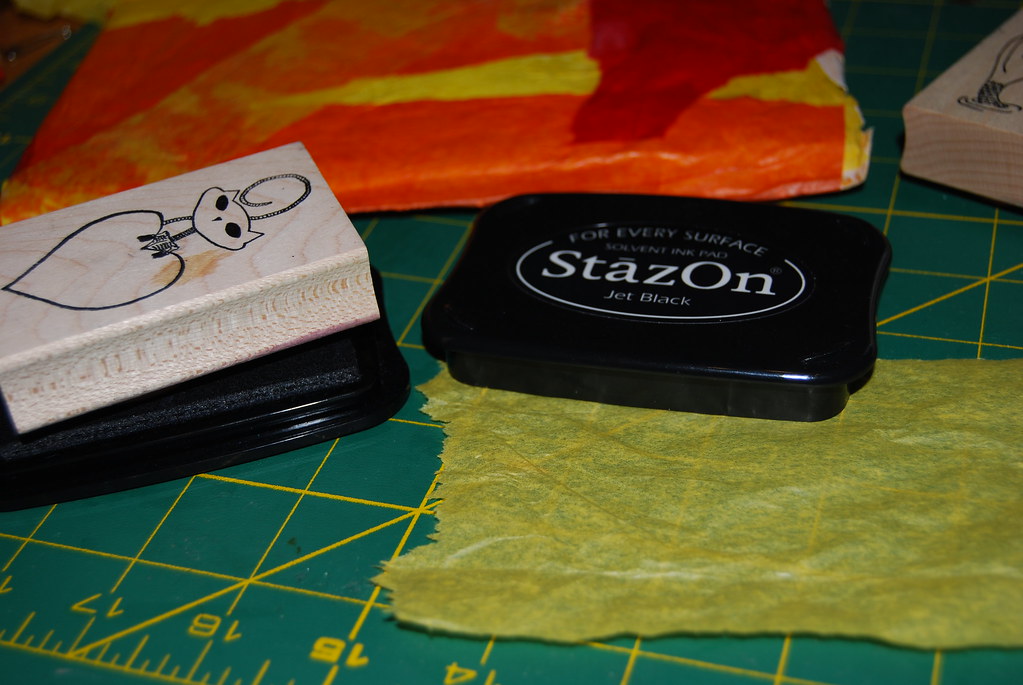 |
| *cough* my Skelekitty© rubber stamps are available from Guadalupe's Fun Rubber Stamps in New Mexico |
Have some fun!
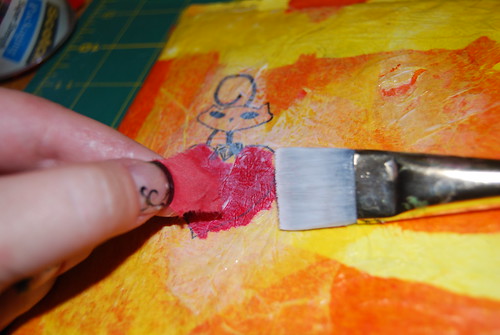 |
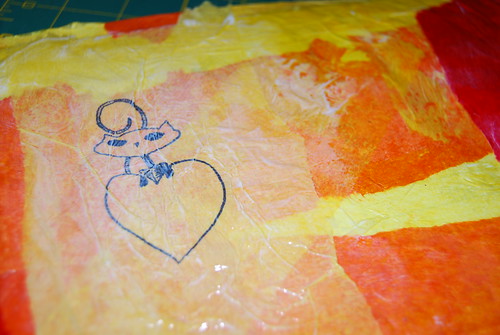
| I glued a little red tissue paper in the heart. Don't bother staying in the lines. |
It still needs a little sparkle! I got the idea of adding iridescent glitter to mod podge from Kathy Murillo, The Crafty Chica on one of her art cruises. Fun times, people. Fun times. Anyway, just sprinkle a little glitter into a container with some decoupage medium, mix and apply. Super easy. If you're the glitter-on-everything type, you could pre-mix some in one of these handy dandy bottles to keep on hand at all times. You know, in case of a glitter-emergency.
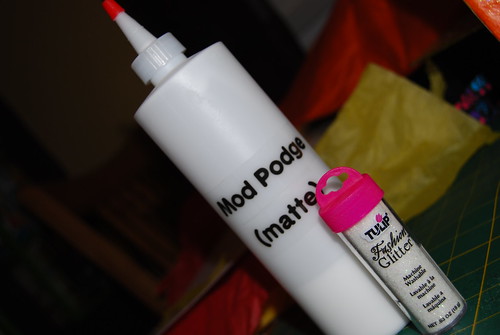 |
| Craty Chica brand glitters and Tulip Fashion Glitters are made byDuncan (ilovetocreate.com) |
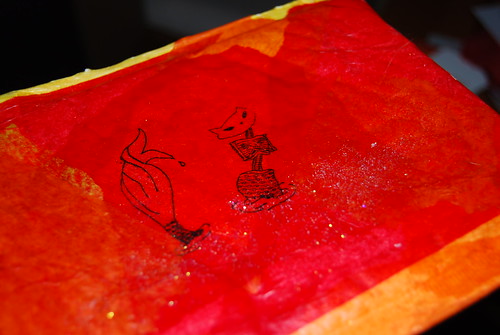 |
| back view of envelope and another view of Skelekitty |
Krissi Sandvik is a mixed-media artist and the owner of Krissi's Art Studio, home of Skelekitty and Friends. She was recently named "best tutorialer on the web" by her friend Rachelle Rose. She publishes a tutorial or "Ask Krissi's Art Studio" column every Friday on Modern Rosies.


 Brooke Heavey


LOVE THIS!
ReplyDeleteThat is such a cool & awesome idea! I know I'd love to get one of those in the mail!
ReplyDelete